Blower Motor Replacement
 After months of procrastination I finally got around to replacing the AC blower motor in my car. It was not that difficult. But it was an experience to get it replaced. I think the most difficult part was figuring out that I have to remove the cup holders before I can remove the glove box. After that it was downhill to replace the motor. I didn't get the resistor controller, I only got the motor, although later I regretted not getting the resistor controller too, I'll tell you later in story why, pictures below.
My motor was making a strange sound at low speed, it was getting in my nerves, I run my fan ON all the time, and at time it was unbearable, sample fan noise below.
If you are interested this is where I got my motor: Amazon Link at the bottom of the page
My car: BMW 330i 2006 E90
Instructions:
1. Remove the trim around the cup holders,

2. Remove the cup holders, (both cup holders).
3. Remove screws around glove box, and remove glove box. (If you don't remove the cup holders you won't be able to remove the glove box. Disconnect all lights and switches from glove box.

4. Remove lower trim at the bottom of the globe box, a few screws there too.

5. Remove the duct, to get to the fan. (note that you have 2 parts to the duct, they go to the back seat/cup holder in the middle compartment), they are only pressed in, no screws for these.

6. Disconnect Blower Fan
7. Pinch the release tab in the front of the Blower motor Housing, (tab is facing front of car), then blower motor just drops off.

8. To re-install everything follow reverse order.
 Blower Motor resistor on Amazon: Link to Resistor / Regulator.

 Being that my motor was only making noises, and that it was not broken, I assumed that the Resistor was okay, but to my surprise it was not, it had signs of overheating, which apparently is a common thing on this model year car. I ended up using the same "overheating" resistor, and it is still working, but I ended up taking it apart, to see what the problem was, everything "ohmed" out good, so I ended up reusing it again. I did end up scraping the "crud" off one of the Terminals because it very discolored, like it had overheated, the Connector "plastic" also, looked like it overheated, and melted the plastic around it, which I have to say I am very surprised there hasn't been a Recall for this type of issue. In my case the wires on the terminal fused together, which could cause a Fire. I cleaned/scraped both terminal and I crimped the connector to make sure they were making a solid connection, because I suspect it was a loose connection that caused the overheating. I also separed the wires that had fused together and I re-wrapped them. I suspect these wires were draining my battery too.
A few other interesting picture of the Resistor controller:


I am very interested in knowing how many people have replaced their motor, only to find that the connector had been overheating, let me know in the comments below. Thank you for reading this far.


My motor was making a strange sound at low speed, it was getting in my nerves, I run my fan ON all the time, and at time it was unbearable, sample fan noise below.
If you are interested this is where I got my motor: Amazon Link at the bottom of the page
My car: BMW 330i 2006 E90
Instructions:
1. Remove the trim around the cup holders,

2. Remove the cup holders, (both cup holders).
3. Remove screws around glove box, and remove glove box. (If you don't remove the cup holders you won't be able to remove the glove box. Disconnect all lights and switches from glove box.

4. Remove lower trim at the bottom of the globe box, a few screws there too.

5. Remove the duct, to get to the fan. (note that you have 2 parts to the duct, they go to the back seat/cup holder in the middle compartment), they are only pressed in, no screws for these.

6. Disconnect Blower Fan
7. Pinch the release tab in the front of the Blower motor Housing, (tab is facing front of car), then blower motor just drops off.

8. To re-install everything follow reverse order.
The Blower Motor Resistor / Controller Concern:


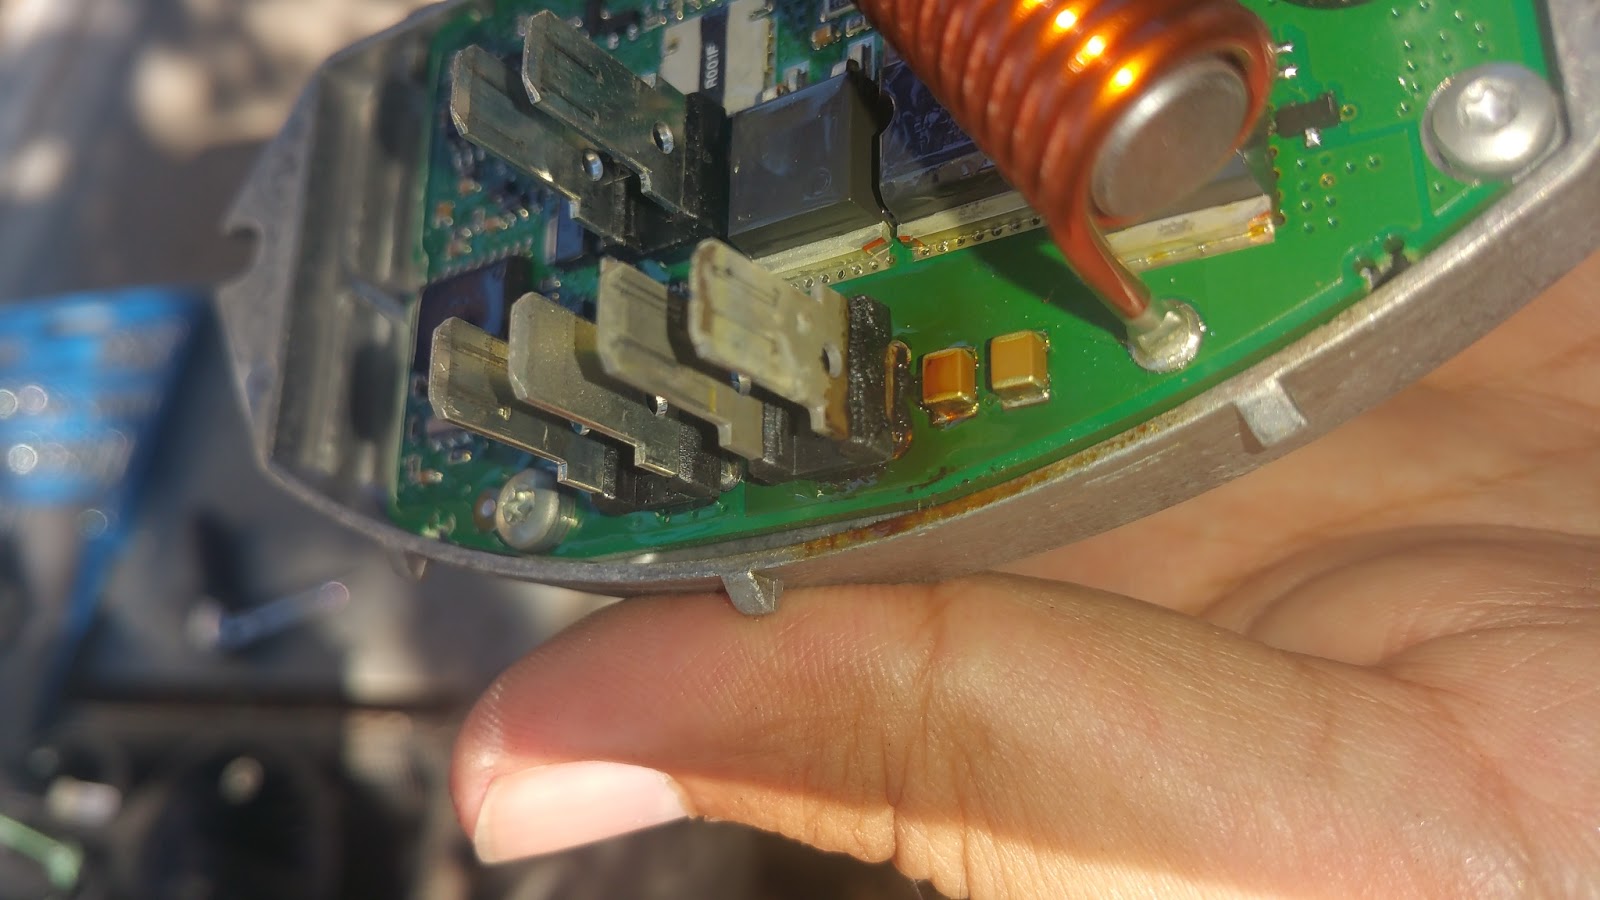 Being that my motor was only making noises, and that it was not broken, I assumed that the Resistor was okay, but to my surprise it was not, it had signs of overheating, which apparently is a common thing on this model year car. I ended up using the same "overheating" resistor, and it is still working, but I ended up taking it apart, to see what the problem was, everything "ohmed" out good, so I ended up reusing it again. I did end up scraping the "crud" off one of the Terminals because it very discolored, like it had overheated, the Connector "plastic" also, looked like it overheated, and melted the plastic around it, which I have to say I am very surprised there hasn't been a Recall for this type of issue. In my case the wires on the terminal fused together, which could cause a Fire. I cleaned/scraped both terminal and I crimped the connector to make sure they were making a solid connection, because I suspect it was a loose connection that caused the overheating. I also separed the wires that had fused together and I re-wrapped them. I suspect these wires were draining my battery too.
Resistor BMW part number: 64 11 9 265 892
Blower Motor BMW Part number: 64 11 9 227 670
The Melted Connector:
 |
| Melted Resistor Controller Connector |
 |
| Both Wires fused together, not sure if it's Battery Power and Ground on the connector but I assume it is. |
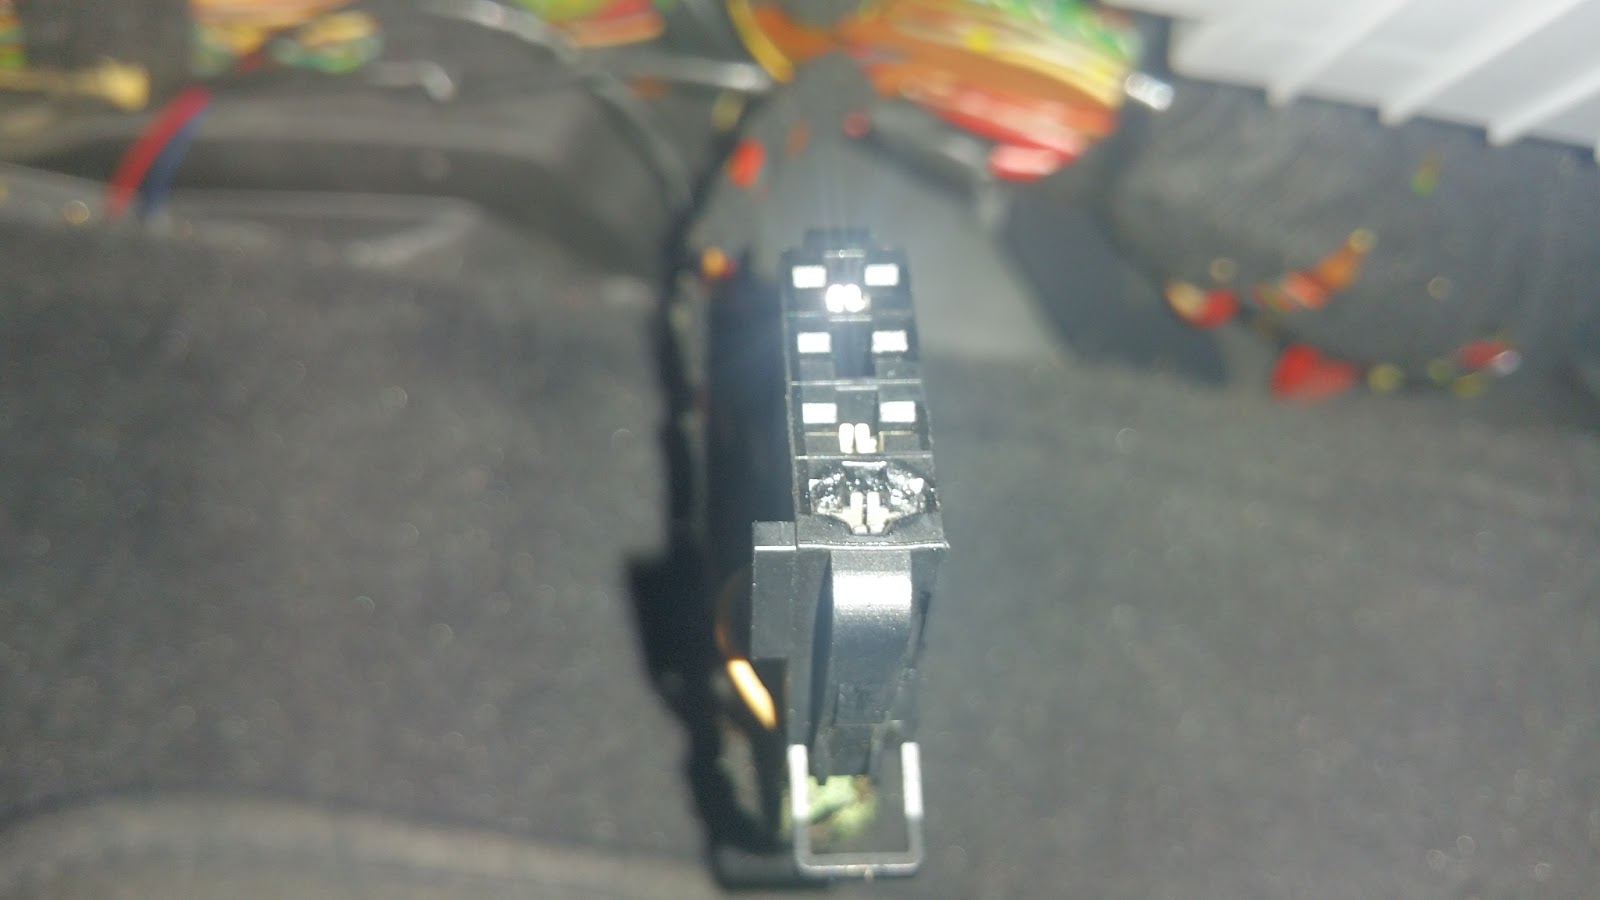
A few other interesting picture of the Resistor controller:


The final results:
Before I replaced the Blower Fan
 |
| Noisy Blower Fan |
After I replaced the Blower Fan
 |
| Replaced Blower Motor (No weird noise) |
I am very interested in knowing how many people have replaced their motor, only to find that the connector had been overheating, let me know in the comments below. Thank you for reading this far.
See all my Blog posts: Top of the main page link

If this was helpful to you consider donating.
If you found the information helpful consider donating:
Please note that the blower listed below doesn't come with a resistor regulator, which is why I also included it, both links below:
Until next time...


