Showing posts with label Replacement. Show all posts

Thursday, January 10, 2019

Starter Replacement E90 BMW 330i 2006

Starter E90
Starter Replacement E90
E90 330i 2006 BMW  240K miles

As I suspected and feared, my starter went out and there was no way to resuscitate it to move my car to a place where I could fix it, I got stranded, fortunately not too far from home.  If you suspect your starter is starting to go out REPLACE IT! don't wait for the car to just DIE.  The dealer will charge you $800 to $1200 dollars to replace, plus towing fees.  It can be done at home, with some patience.  For only $73 dollars, you can replace it at home.  DON'T wait for it to die, or you will have to get towed home, trust me it's worth replacing before it dies.  Amazon link below where I got my starter.


Symptoms of a bad starter:

Over the months: My car sometimes didn't' want to start, like when a battery is weak.  I almost bought a new battery thinking it was the battery.  I actually put a battery tender on the battery one time to make sure the battery was good, but the result seemed the same.  In the back of my mind I knew it had to be the starter.  

Last few days:  A week before the starter completely stopped, I would press the start button and it would take a solid 4 seconds for the car to start, and it sounded like a weak battery still.

When you press the start button the starter does absolutely nothing.  You do hear a high pitch electrical whirring, if you ever played with a toy motor, and you purposely stopped the motor from spinning, that is the noise you hear.  


Quick tip to make the starter run again.

I watched a video where a guy was hitting the starter to get it going to get you out of pinch, I recommend it.  I didn't try it for my car.  At least try it, find a metal rod or something long to hit the starter a couple of times, it could get you out of having to tow your car home.  Again, if you are stranded at a mall for example.

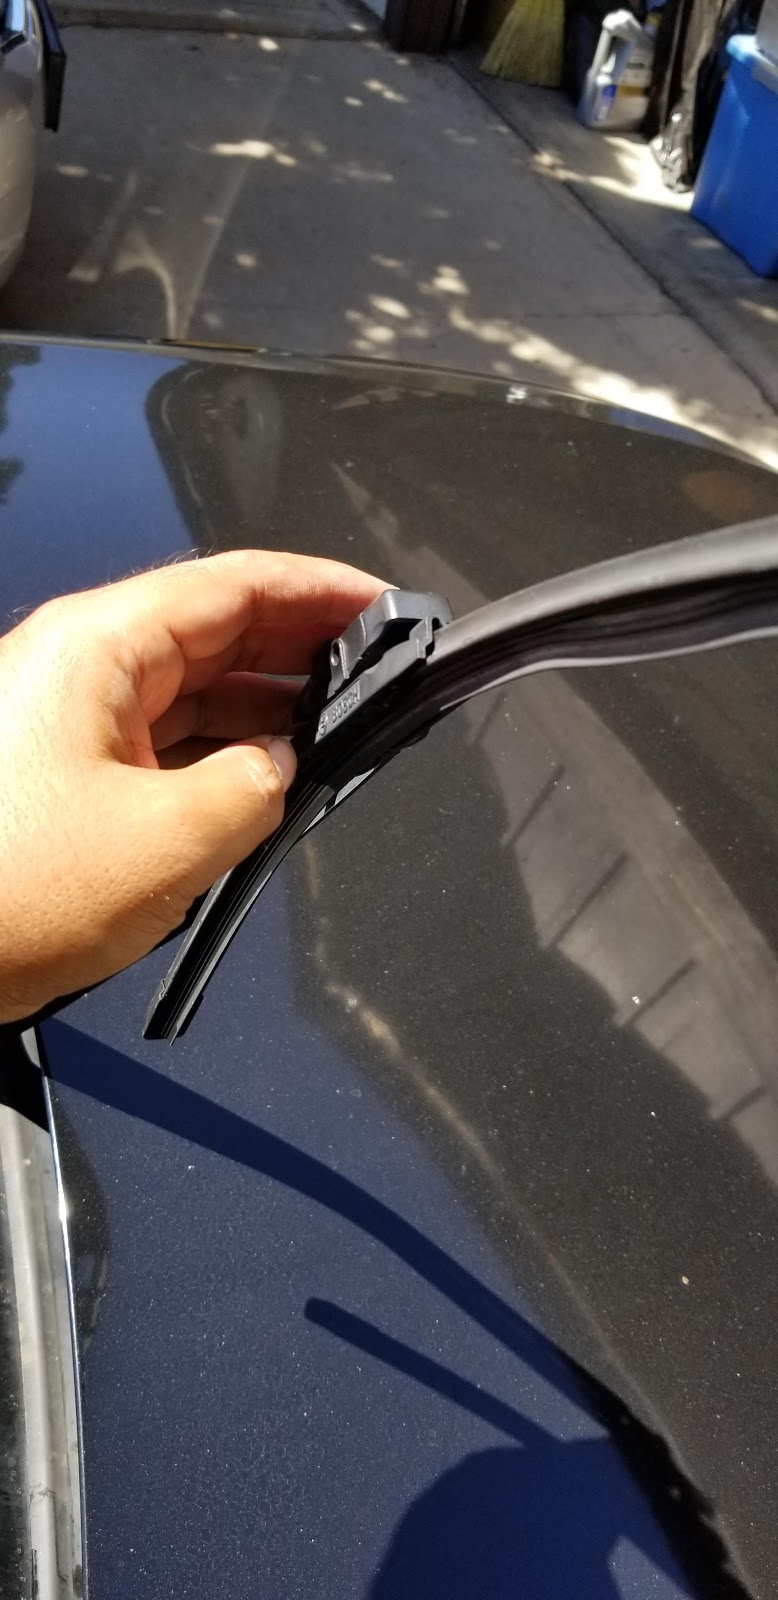
Do not push the car, because you will ruin the clear coat, believe me my clear coat got ruined, when I pushed the car with my GMC truck, to get it in front of my garage, it was a total mistake.  Bumper to bumper.

How to replace it: Video Includes my tips to make it easier to replace

Remove the screws on the intake manifold and remove the air filter box.  see this video I explain more of what I did. You DON'T have to remove the intake manifold to to replace starter.


You have to replace starter screws, they are one time use!
Note:  You have to buy new screws too, the screws for the starter are one time use only.  They are made of aluminium, and they stretch when they are tightened.  As a result if you try to use them again, they can brake.

Starter Fuse at battery terminal
Only a few people will need this, but if you have a totalled car and the airbags deployed, (Auction Car) there is a cable that needs to be replaced.  It's called the BST cable.  If you have a good starter and the starter won't "start" check this cable.  It has piro to deploy and open cable in the event of an accident.

Google : Battery Cable BST if you want to know more: located at the positive terminal of battery in the trunk.  For the few people that don't know, I figured somebody will find this useful.  If you replaced the starter and it still doesn't work check this cable.

Battery BST cable ,Screen shot


Check code:
My car did not throw a "Starter Defective" Code, not sure if there should be a code, but I scanned my car and nothing came up.  The car just didn't start.  But I figured it was either the battery or the starter, so I checked both and everything is working great.

A few pictures about the process and parts I used:
Intake gasket bag label

extension socket wrench used for bottom screw on starter

Original starter label on starter... Lasted 240,000 miles, unbelievable!

Original Starter back of original one

New Starter

New starter, picture of welded copper

New starter teeth

This wrench is the key to the process 11MM wrench, see video above for more

Original starter

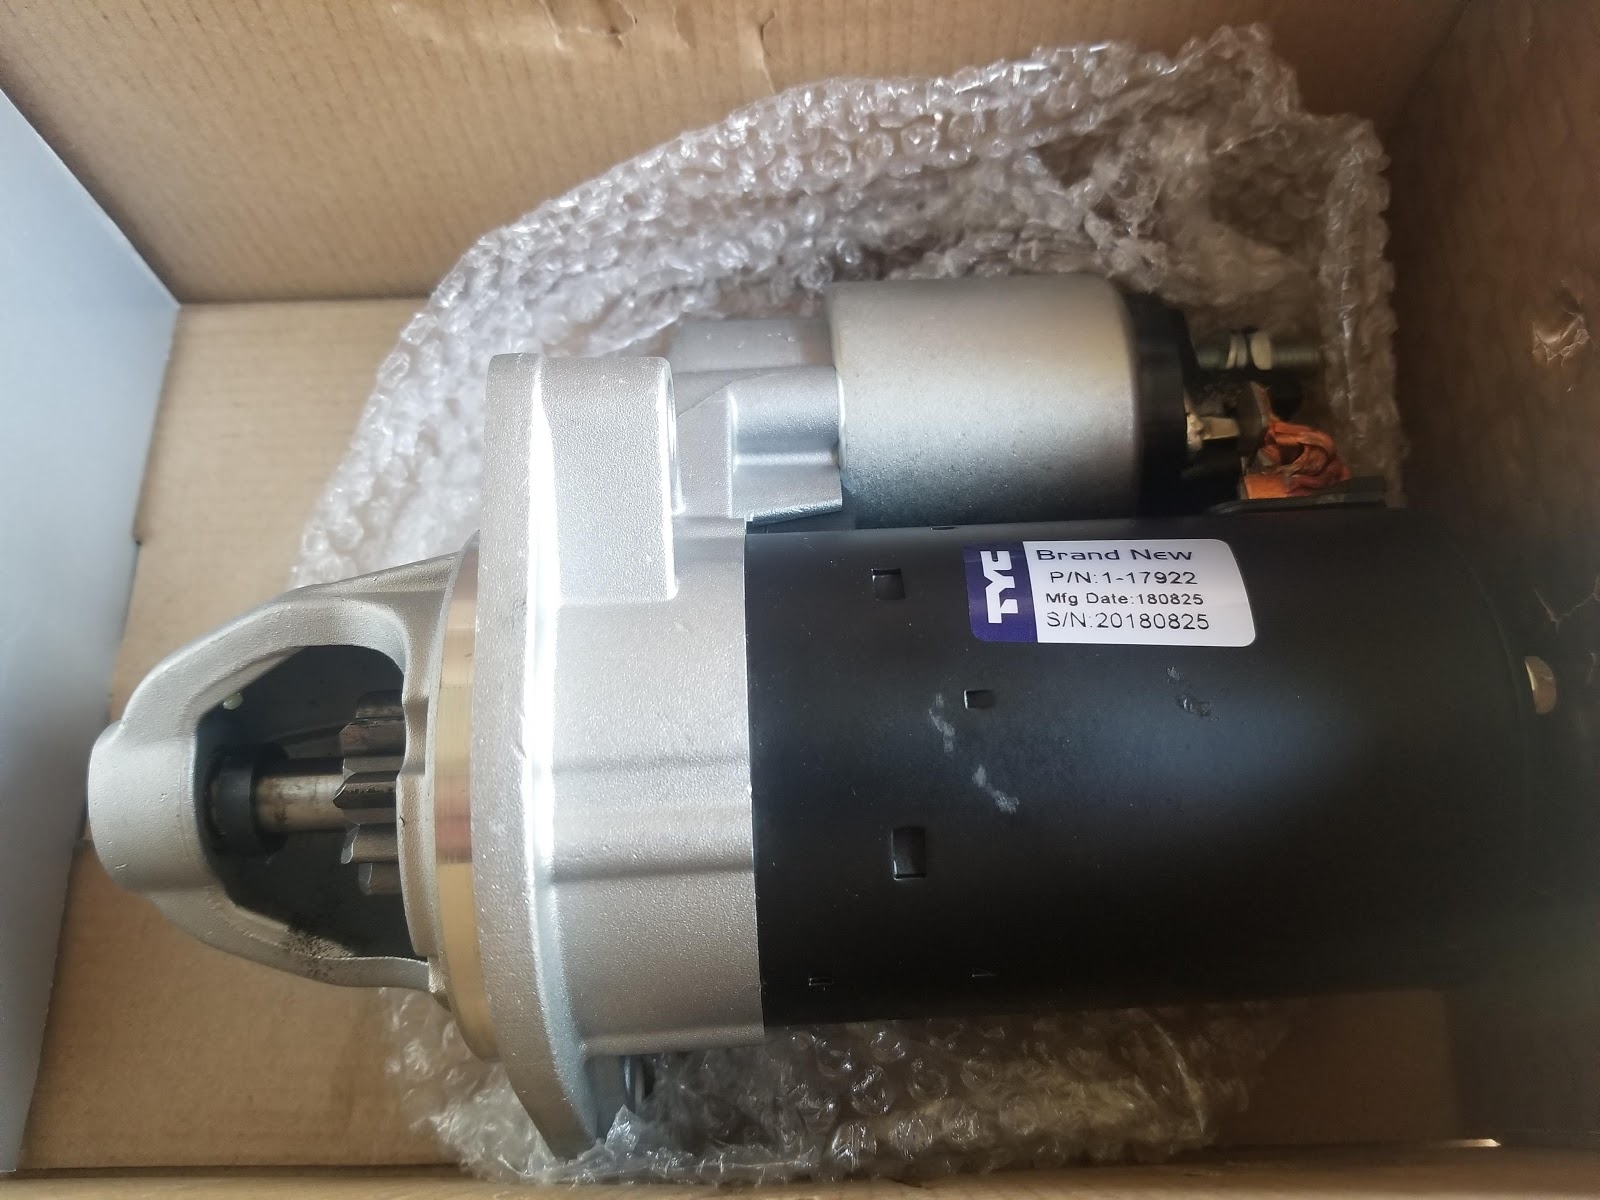
New replacement starter, link at bottom of article

New starter, perfect fit, Amazon link at bottom of article

New starter box, got it from amazon

A must!   old screws are one time use.  Long screw goes on the left top, bottom right is the short screw

Intake gasket, the intake is already off, if you never replaced them before, replace them.
More in my video above.

Good luck to you, and if you find this post helpful please let me know...

until next time.


To see more about my E90, go to the top of the Vlog  : https://msauceda1.blogspot.com/


Where to get a new Starter from Amazon:

Thursday, September 13, 2018

How to replace Windshield wipers, BMW 330i 2006 E90

Windshield Wiper Replacement

BMW 330i 2006 E90

It's that time of the year when the blades of my E90 have started to look worn out.  But no big deal it's actually VERY easy to replace,

These are the procedures follow the steps 1 through 4 below.

One Blade is longer than the other, one is 24 Inches and other is 19 Inches.
The Driver side is longer

Step 1:
Pull on the plastic cover like this: up and away
It pops out, don't be afraid of it, then put it off to the side

Note: if you don't have the cover, see a link at the bottom for a replacement from Amazon, if it's loose it can go flying off...

Step 2:
Then pull the wiper up and away from Windshield

Step 3:
Then twist half turn, counter clockwise, the whole wiper blade, the entire wiper blade should moves very easy, it's not attached or anything it should freely move,...  like you need to flip the wiper blade upside down.

It should look like this: picture below


Step 4:
Then slide out.


Then finally put the new ones back on.  Then do reverse procedure.

Don't forget the plastic cover, make sure it snaps back into place.  If it's lose it will go flying off!

I use Bosch brand they are a bit more expensive but worth it.  They usually last me a few years.

I typically get them at Autozone, ask them for help.  They should be able to help.

Just tell them you need Wiper Blades for BMW 330i 2006, Bosch brand.  They are going to figure out which lengths you need and you just go and get them.  They usually have different lengths.

Good luck to you, and if you find this post helpful please let me know...

until next time.


To see more about my E90, go to the top of the Vlog  : https://msauceda1.blogspot.com/


Link to Amazon wiper blade:

Wednesday, March 21, 2018

Oxygen Sensor Replacement: P2247


Oxygen Sensor Replacement: P2247
(E90 330I 2006 BMW)

This time I am going to tell you about Error code P2247, which is Bank 2, Sensor 1.

It actually gave a "Check Engine Light", I plugged in my error code reader, and it actually also gave me error code P0155, as well as P2247.

Replacing an Oxygen Sensor is not very complicated, but it does require a special tool.  An Oxygen Sensor removal tool, you can borrow from Autozone, if you buy the Sensor from there.  Here is a picture of what I got:

Picture of socket here:
Walmart Picture: Socket Removal tool


NOTE:
you have to run the car To Temperature for the car to recognize that it's a new Oxygen sensor: 
- I ran my car for about 5 minutes,
- Turned the car off, and back ON
- Then cleared the code
If you try to clear it too soon, it will not work.  Be patient.

Which sensor is Bank 2 Sensor 1: It is the sensor that is closer to the firewall, on top of the engine.  Pre Catalytic converter.

NOTE: 
Bank 2 Sensor 1 is : Gay color (cable harness) (Code P2247)
Bank 2 Sensor 2 is Black Color (cable harness)  (Not sure what code is)
Faul codes


Note the color of the cables on Sensor 1 and sensor 2.  Bank 1 and 2.


Remove Heat Shield:
To get to the Bank 2, Sensor 1, you have to remove this (Heat Shield):
You have to remove this, otherwise there is no room to put tool on the sensor 

Bottom view of  heat shield: Bank 2 sensor 1
Don't touch the sensor part of the Sensor, it comes covered with plastic

New sensor comes with Anti-seize, ready to install:

Connecor

Note the Length too, it's not a short wire harness, NOTE it's gray color.
Bank 2 sensor 1, is the one on the left, to disconnect.
You can follow it back to see which one it is.  If you are not sure.


Cost: $161.99 at Autozone  3/21/2018 Oxygen Sensor


Good luck replacing your sensor, thank you for reading my post.


Sunday, May 21, 2017

Fog Light Repair / Bulb Replacement

Fog Light Repair / Bulb Replacement E90, 330i BMW

I have to say I am very impressed with how long the Bulbs in my Car have lasted, my car is 12 years old and I've only had to replace 3 bulbs so far.

I personally think it's German Engineering at it's best.  I've owned other cars and usually with in 1 to 2 years a bulb goes out.  It's something that happens regularly to other cars, not to my car.

As you can probably guess by now, we are going to talk today about replacing the Fog Light, Bulb.

My bulb went out when I hit something on the Freeway.  I don't think you can tell but the entire Fog light Housing is broken, it's pushed in a bit in the picture above.  When the Fog light got it, it immediately took out the bulb, I got the "Ding Ding Ding" associated with something wrong, you know what I am talking about... and I saw that a bulb was out on the display it showed a fog light symbol.  Honestly I thought it was the main headlight initially, that would have been expensive, so I am happy it wasn't that.

It's actually not that difficult to replace, but it does require a little bit of work, just follow along.

Tools: You will need an 8mm socket to remove 4 screws below and to the side of the where the bulb is located.  Just enough to have access to the bulb.

Access: The idea is to make enough room to be able to twist off the bulb so that it can be replaced.  I ended up removing 3 screws from the bottom of where you see in the picture below, and 1 screw in the fender.  Again, enough room to access the bulb.

Special Note: The Harness attached to the bulb was not long enough to twist off the bulb, as I twisted the bulb initially, it didn't want to rotate enough to be able to remove the bulb, so I looked at the wire Harness closely and I noticed that the wire harness is clipped onto the bulb housing on the left side, I undid the clip and that gave me about 2 inches of length more to be able to twist off the bulb off.  I was struggling for a good 3 minutes before I realized I could do that.

Only Enough clearance for me to reach inside to remove the bulb,
That is all you need.

Bulb to twist off

Bulb Replacement:  The Bulb I ended up getting is an Sylvania H11, it was a perfect fit. The Original Bulb was a Philips H11, in case you were wondering.

Amazon link at the bottom of article...


Bulb Close ups:  This is what the bulb looks like when you take it out from the Housing.


Bulb Clip:  To remove the bulb from the Wire Harness you will need to undo 2 clips on the side of the Harness:  You have to undo them both at the same time for the bulb to pop out of the wire harness.
Undo both sides of the clips to remove bulb.
Note:  The Bulb only goes in one way. The bulb has a keyed part that prevent it from being installed backward, in the wrong polarity.


Note the key on the right side

Replacement Bulb:


Jacking up the Car:  I did have to jack the car up to get access to the bottom of the car, I guess I could of done it without Jacking up the car, but I have to say it was easier that way.


Bad Bulb:  I don't know if you can see it but the inside of the bulb is broken.

Wire inside the bulb is broken.

I was thinking of doing an LED upgrade, if I do that upgrade later, I'll post about it.

Thanks for Reading this far, have a wonderful day and I hope this was helpful to you.